

Jenkins Uses cases and Installation Step by Step
In this blog we are going to see the complete Installation step by step and also the uses cases of jenkins.


Introduction of Jenkins
Jenkins offers a simple way to set up a continuous integration or continuous delivery (CI/CD) environment for almost any combination of languages and source code repositories using pipelines, as well as automating other routine development tasks. While Jenkins doesn’t eliminate the need to create scripts for individual steps, it does give you a faster and more robust way to integrate your entire chain of build, test, and deployment tools than you can easily build yourself.
Before Jenkins, the best a developer could do to avoid breaking the nightly build was to write and test their code carefully and successfully on a local machine before committing it. But that meant testing one’s changes in isolation, without everyone else’s daily commits. There was no firm guarantee that the nightly build would survive the latest commit.
Let's see the Some Use cases of Jenkins
Android, Bitbucket Server, C/C++, Docker, Embedded, GitHub, Java , PHP, Continuous Delivery, Python, Ruby

Android
As one of the predominant mobile platforms, Android is attractive to a number of developers, but it does bring its own set of challenges with it. With an extremely broad set of devices available on the market, building, and testing for the matrix of device configurations can be very challenging. With the Android emulator plugin, however, it is possible to build and test on a myriad of emulated devices.
When combined with the Google Play Publisher plugin, Android developers can build a true continuous delivery pipeline, sending builds to an alpha channel in Google Play for release or further testing.
Bitbucket Server

Bitbucket Server is a Git repository management solution designed for professional teams. It’s part of the Atlassian product family along with Jira, Confluence, and many more tools designed to help teams unleash their full potential.
To integrate it with Jenkins, you can install the Bitbucket Server integration for Jenkins plugin. This plugin, which is built and supported by Atlassian, is the easiest way to connect these two tools. It features:
Support for Multibranch Pipeline, Jenkins Freestyle, and Pipeline project types
Automatic webbook creation in a Bitbucket Server repo when a Jenkins job is saved
Quick selection of Bitbucket Server projects and repos for a Jenkins job through a dropdown
The ability to automatically send build statuses to Bitbucket Server
Cloning from Bitbucket Server Smart Mirrors

C/C++
C and C++ are present in very important industries today, including Operating Systems, embedded systems, finances, research, automotive, robotics, gaming, and many more. The main reason for this is performance, which is critical to many of these industries, and cannot be compared to any other technology. As a counterpart, the C/C++ ecosystem has a few important challenges to face:
Huge projects - With millions of lines of code, it’s very hard to manage your projects without using modern tools.
Application Binary Interface (ABI) incompatibility - To guarantee the compatibility of a library with other libraries and your application, different configurations (such as the operating system, architecture, and compiler) need to be under control.
Slow compilation times - Due to header inclusion and pre-processor bloat, together with the challenges mentioned above, it requires special attention to optimize the process and rebuild only the libraries that need to be rebuilt.
Code linkage and inlining - A static C/C++ library can embed headers from a dependent library. Also, a shared library can embed a static library. In both cases, you need to manage the rebuild of your library when any of its dependencies change.
Varied ecosystem - There are many different compilers and build systems, for different platforms, targets and purposes.

Docker
Docker is an open-source project that automates the deployment of applications inside software containers, by providing an additional layer of abstraction and automation of operating-system-level virtualization on Linux.*
What this offers to Jenkins users is a means to isolate different jobs from one another, quickly clean a job’s workspace or even dynamically deploy or schedule jobs with Docker containers to increase resource utilization and efficiency.

Embedded
Jenkins is an extensible framework, which can be applied to many areas including embedded software and even hardware development. With proper configuration, Jenkins can be operated with hardware peripherals attached to build agents to accelerate development of all kinds of embedded use-cases.
This page provides a brief overview of using Jenkins for automation with embedded and hardware projects.
Use-cases
Working with tools
Jenkins has plugins for integration with common tools such as GCC, Microsoft Visual Studio, etc. Currently, there are no domain-specific embedded development or electronic design automation tool integrations. Jenkins can however integrate with practically any tool which can provide a command-line interface via its shell/batch scripting integration.
These command line tools can be invoked directly, assuming the build agent being used has the appropriate environment set up. To help configure the environments, a few of the following approaches can be considered:
Machine-specific variables (e.g. LM_LICENSE_FILE or port specifications for peripherals) can be configured in Agent configuration in the Environment Variables section. Once the variable is modified, the build agent should be reconnected.
In order to integrate the setup of the tool environment, consider Custom Tools Plugin.
EnvInject Plugin allows to setup of custom environments at the job level.
Working with FPGA boards and hardware peripherals
Interaction with FPGA boards can be done via CLI tools as well. Care must be taken in configuring Jenkins to prevent conflicts between parallel builds attempting to access the same shared external peripherals at the same time. There are a few plugins that can help manage concurrent peripherals access such as the:
Throttle Concurrent Builds Plugin allows preventing hardware and license usage conflicts.
Build Timeout Plugin helps prevent tools (e.g. cable drives) which might hang for whatever reason, blocking a Jenkins build indefinitely.
Naginator Plugin enables conditional restarting of builds in case of flakey hardware issues.
Working with computing grids
Jenkins has limited support of computing grids, ideally for highly parallelized tests and builds it would be useful to provision Jenkins agents from computing grids
There is an LSF Cloud Plugin for LSF, but for other grids, there is no open-source plugins currently available.
As a workaround, Jenkins jobs can invoke CLI tools in order to utilize computing grid resources. Builds from such jobs should be able to submit task on computing grids, wait until their completion, and then collect the execution results.
Such jobs can be implemented, but due to double scheduling, there are many potential issues with the stability of the instances (e.g. runaway grid tasks if the Jenkins server shuts down during the build). Currently, these issues must be handled by the job itself.
Publishing reports in custom formats
Jenkins does not have specific plugins for parsing reports from many tools. In such case the general recommendation is to convert the reports to formats supported by exising Jenkins plugins.
For tools which generate some form of XML-based reports, formatting of those reports can be implemented with an XSLT converter. Consider the following plugins for incorporating generated reports into Jenkins:
Unit testing results: xUnit Plugin, which provides a "Custom report" handler to convert any XML to JUnit formatted reports for Jenkins
Timing analysis reports: Performance plugin (support JMeter-alike reports)
Code coverage: Cobertura Plugin or Emma Plugin
GitHub
Jenkins, itself located on GitHub, has a number of plugins for integrating into GitHub. The primary avenues for integrating your Jenkins instance with GitHub are:
"build integration" - using GitHub to trigger builds
"authentication integration" - using GitHub as the source of authentication information to secure a Jenkins instance.
Build integration
With the help of the Git plugin Jenkins can easily pull source code from any Git repository that the Jenkins build node can access.
The GitHub plugin extends upon that integration further by providing improved bi-directional integration with GitHub. Allowing you to set up a Service Hook will hit your Jenkins instance every time a change is pushed to GitHub.

Going the other direction, the GitHub plugin can also feed information back into GitHub via the commit status API.
Authenticating with GitHub
Using the GitHub Authentication plugin it is possible to use GitHub’s own authentication scheme for implementing authentication in your Jenkins instance.
The setup guide will help walk you through configuring the GitHub OAuth side, and your Jenkins instance, to provide easy authentication/authorization for users.


Java
Jenkins supports building Java projects since its inception, and for a reason! It’s both the language Jenkins is written in, plus the language in use by many if not all the projects Kohsuke Kawaguchi wanted to watch out for when he created the tool many years ago.
If you want to build a Java project, there are a bunch of different options. The most typical ones nowadays are generally Apache Maven or Gradle.
Apache Maven
In any FreeStyle job, as currently Maven is supported in standard, you can use the dedicated step. One advantage is, as for all Jenkins tools, that you can select a specific Maven version and have Jenkins automatically install it on the build node it’s going to run on

Gradle
As the associated plugin is not installed by default, first install the Grade Plugin Once done, you should be able to add a Gradle step.


PHP
Most web applications are changed and adapted quite frequently and quickly. Their environment, for example, the size and the behavior of the user base, are constantly changing. What was sufficient yesterday can be insufficient today. Especially in a web environment, it is important to monitor and continuously improve the internal quality not only when developing, but also when maintaining the software.
Many of the plugins referenced (right) can be used to integrate with PHP projects, but may first need to be configured the create appropriately formatted files when working with PHP projects.
Configuring PHP Tools
The configurations below assume the use of Apache Ant as the build tool for executing PHP tools. Originally described on Jenkins-php.org.
PHPUnit
The phpunit task in the build.xml assumes that an XML configuration file for PHPUnit is used to configure the following logging targets:
<logging>
 <log type="coverage-html" target="build/coverage"/>
 <log type="coverage-clover" target="build/logs/clover.xml"/>
 <log type="coverage-crap4j" target="build/logs/crap4j.xml"/>
 <log type="junit" target="build/logs/junit.xml" logIncompleteSkipped="false"/>
</logging>
You can download a sample phpunit.xml.dist and place it in your project root to get started.
More information can be found in the documentation for PHPUnit.
phpDox
The phpdox task in the build.xml assumes that an XML configuration file for phpDox is used to configure the API documentation generation:
<phpdox xmlns="http://xml.phpdox.net/config">
 <project name="name-of-project" source="src" workdir="build/phpdox">
  <collector publiconly="false">
   <include mask="*.php" />
  </collector>

  <generator output="build">
   <build engine="html" enabled="true" output="api">
    <file extension="html" />
   </build>
  </generator>
 </project>
</phpdox>
More information can be found in the documentation for phpDox.
PHP_CodeSniffer
The phpcs and phpcs-ci tasks in the build.xml assume that an XML configuration file for PHP_CodeSniffer is used to configure the coding standard:
<ruleset name="name-of-your-coding-standard">
 <description>Description of your coding standard</description>

 <rule ref="Generic.PHP.DisallowShortOpenTag"/>
 <!-- ... -->
</ruleset>
The build script assumes that the rule sets for PHP_CodeSniffer is located at build/phpcs.xml.
More information can be found in the documentation for PHP_CodeSniffer.
PHPMD
The phpmd and phpmd-ci tasks in the build.xml assume that an XML configuration file for PHPMD is used to configure the coding standard:
<ruleset name="name-of-your-coding-standard"
  xmlns="https://pmd.sf.net/ruleset/1.0.0"
  xmlns:xsi="http://www.w3.org/2001/XMLSchema-instance"
  xsi:schemaLocation="https://pmd.sf.net/ruleset/1.0.0
                      https://pmd.sf.net/ruleset_xml_schema.xsd"
  xsi:noNamespaceSchemaLocation="https://pmd.sf.net/ruleset_xml_schema.xsd">
  <description>Description of your coding standard</description>

  <rule ref="rulesets/codesize.xml/CyclomaticComplexity" />
  <!-- ... -->
</ruleset>
The build script assumes that the rule sets for PHPMD are located at build/phpmd.xml.

Continues Delivery
The default interaction model with Jenkins, historically, has been very web UI driven, requiring users to manually create jobs, then manually fill in the details through a web browser. This requires additional effort to create and manage jobs to test and build multiple projects, it also keeps the configuration of a job to build/test/deploy separately from the actual code being built/tested/deployed. This prevents users from applying their existing CI/CD best practices to the job configurations themselves.
Pipeline
With the introduction of the Pipeline plugin, users now can implement a project’s entire build/test/deploy pipeline in a Jenkinsfile and store that alongside their code, treating their pipeline as another piece of code checked into source control.
The Pipeline plugin was inspired by the Build Flow plugin but aims to improve upon some concepts explored by Build Flow with features like:
the ability to suspend/resume executing jobs.
checking the pipeline definition into source control (Jenkinsfile)
support for extending the domain-specific language with additional, organization-specific steps, via the "Shared Libraries" feature.
Python
Unlike compiled languages, Python doesn’t need a "build" per se. Python projects can still benefit greatly from using Jenkins for continuous integration and delivery.
In the Python ecosystem, there are tools that can be integrated into Jenkins for testing/reporting such as:
- nose2 and pytest for executing unit tests and generating JUnit-compatible XML test reports and Cobertura-compatible code coverage reports.

- pylint for generating code quality reports which can be integrated directly into Jenkins for trending and reporting purposes.

Working with Jenkins
Many tools, like Cucumber, can natively output JUnit-formatted XML which integrates by default into Jenkins via the "Publish JUnit test result report" Post-build Action. For tools that do not generate the appropriately formatted XML by default, there are gems that add the necessary for matters, such as ci_reporter.
How to install Jenkins in aws and Redhat8
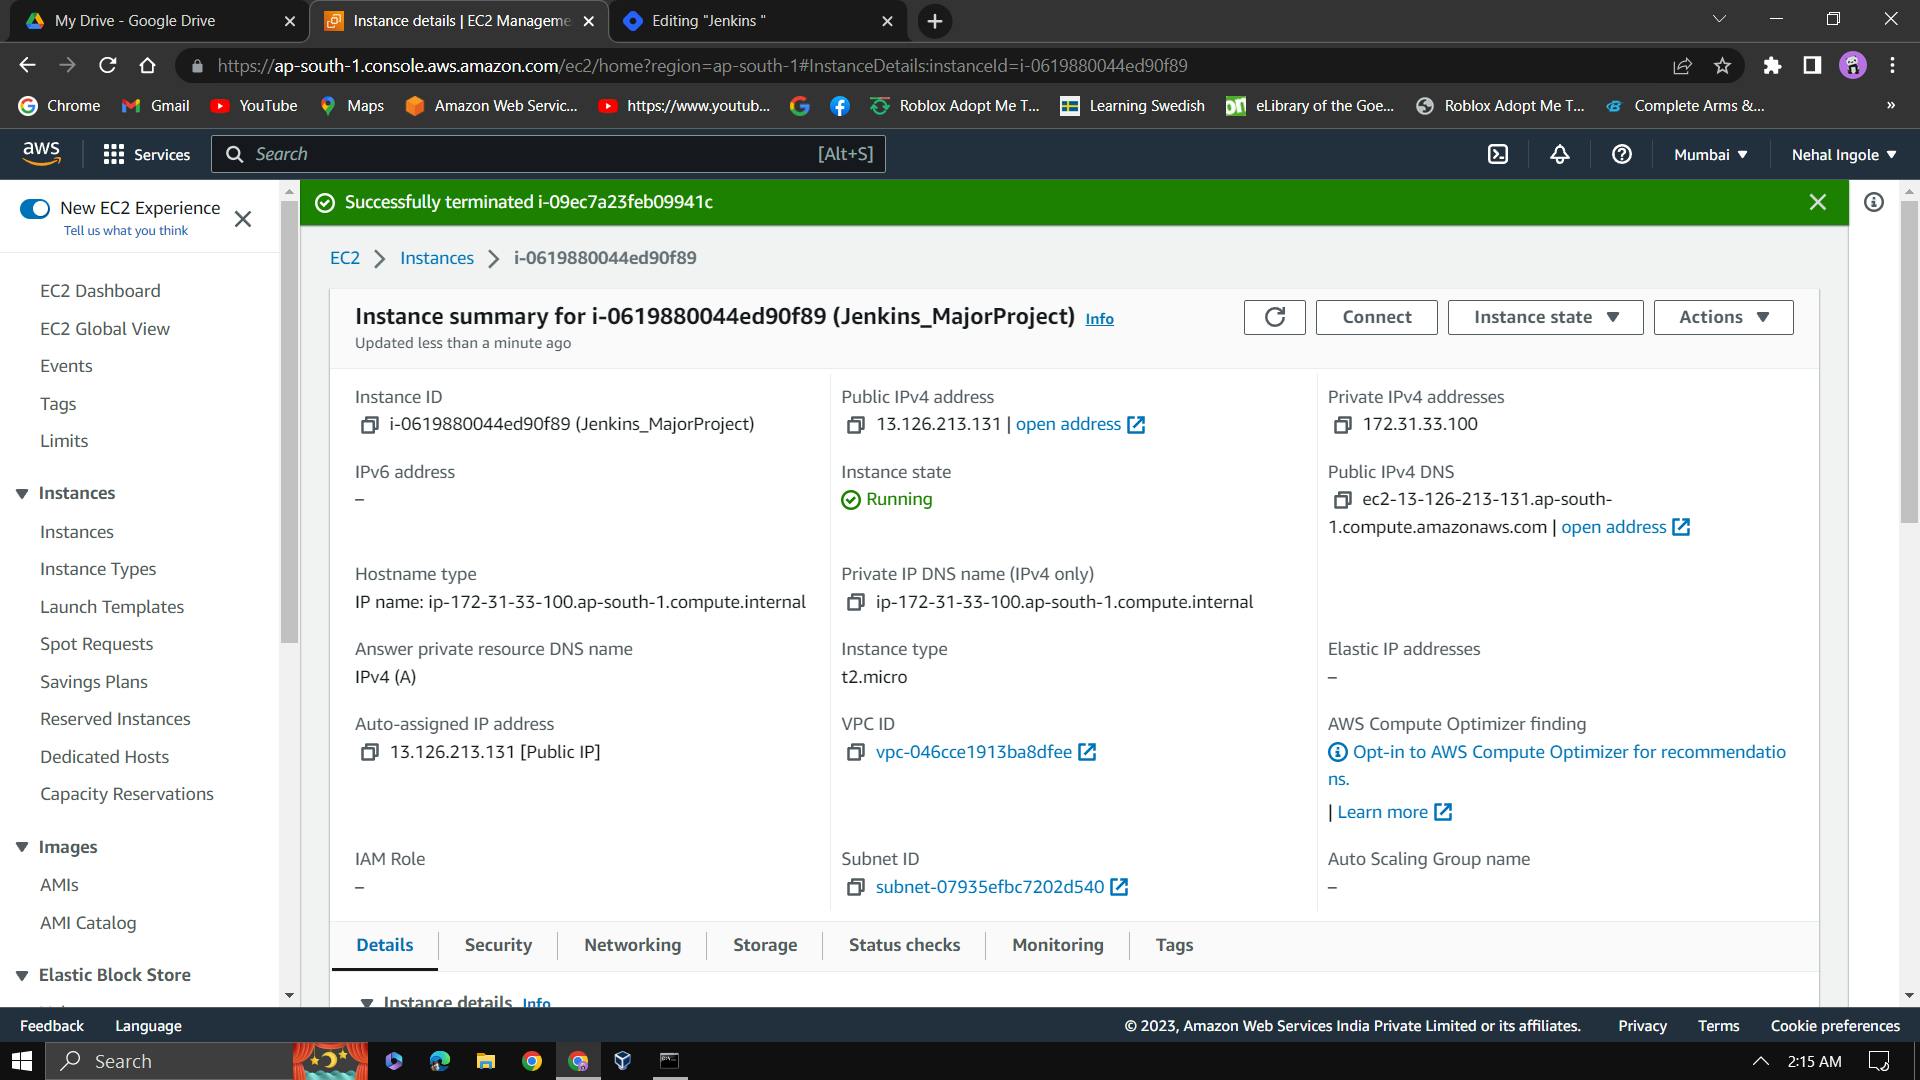
After successfully launching the AWS ec2-instance we are going to login the Instance with the help of an SSH (Secure Shell) connection for that open command line and important thing we also need AWS cli or boto3 install in your system after it going to login.
ssh -i "Private_key" ec2-user@"IPV4"
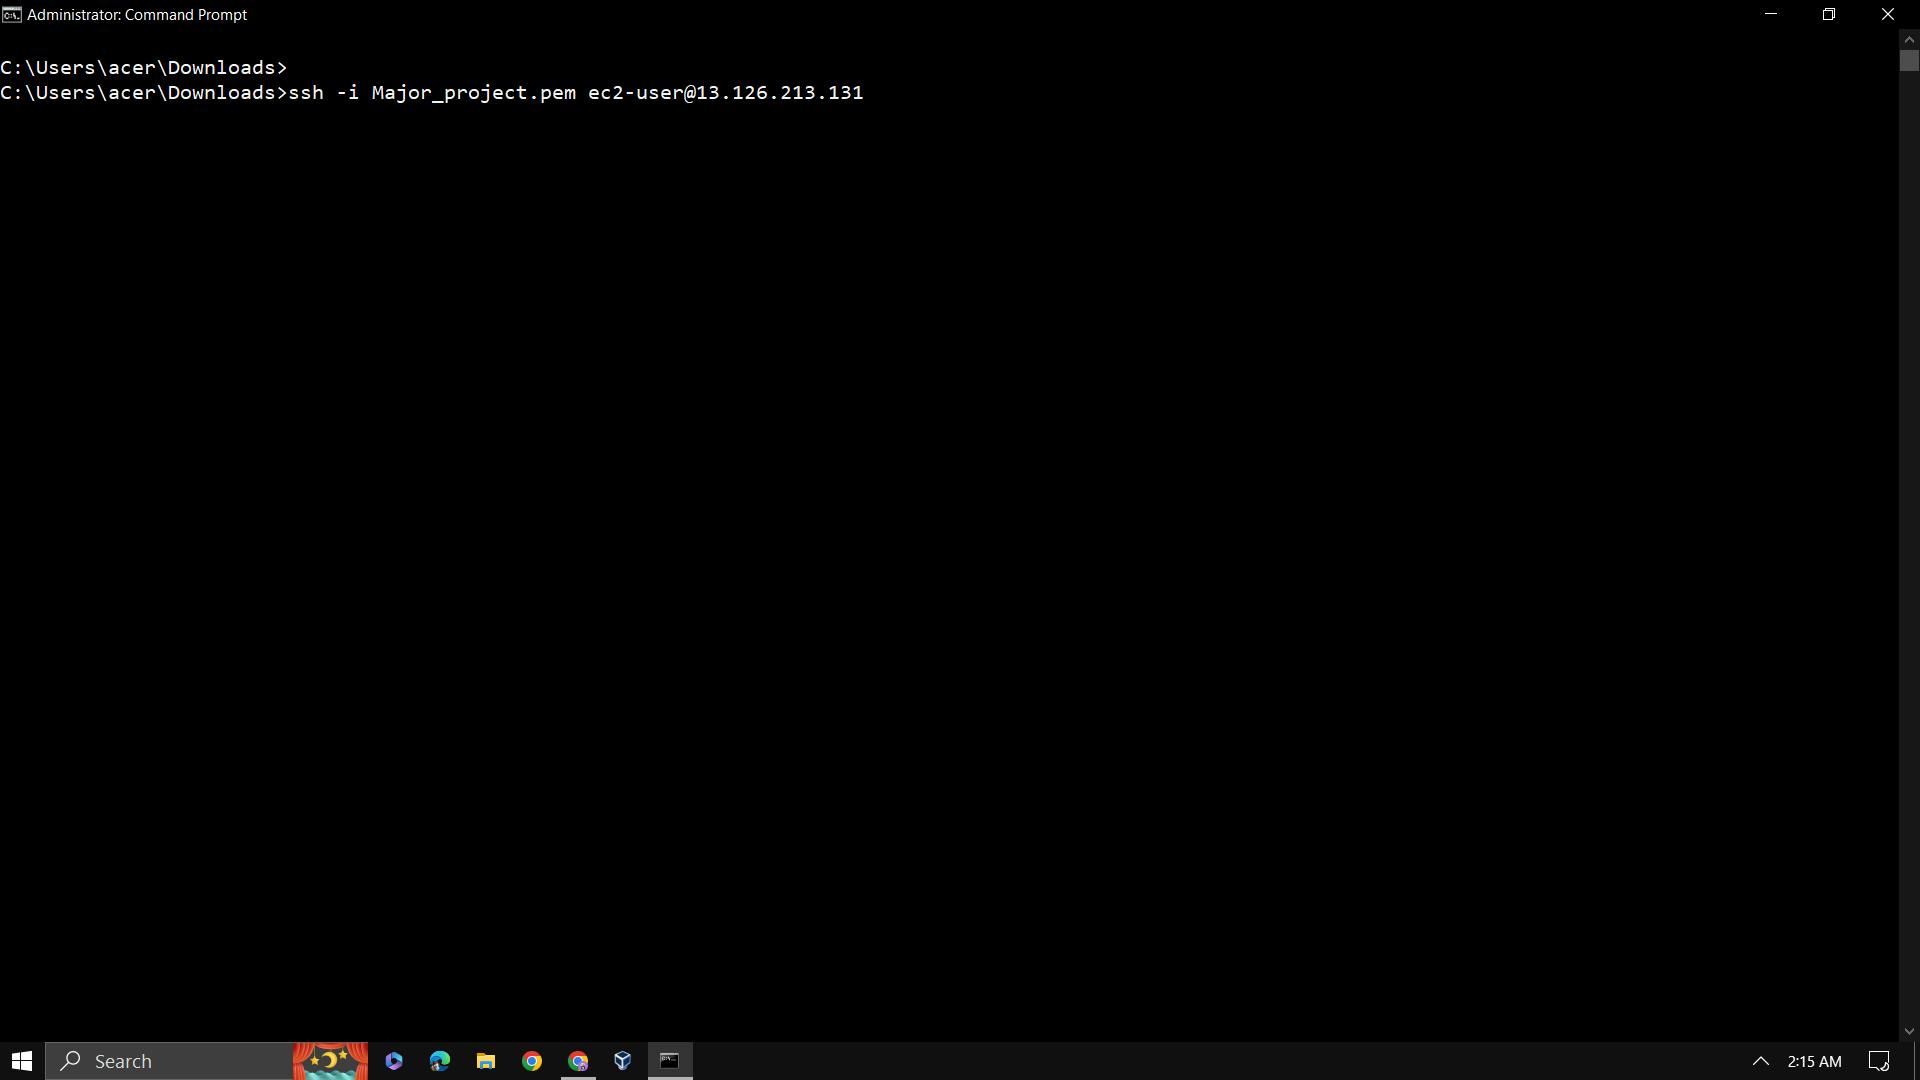
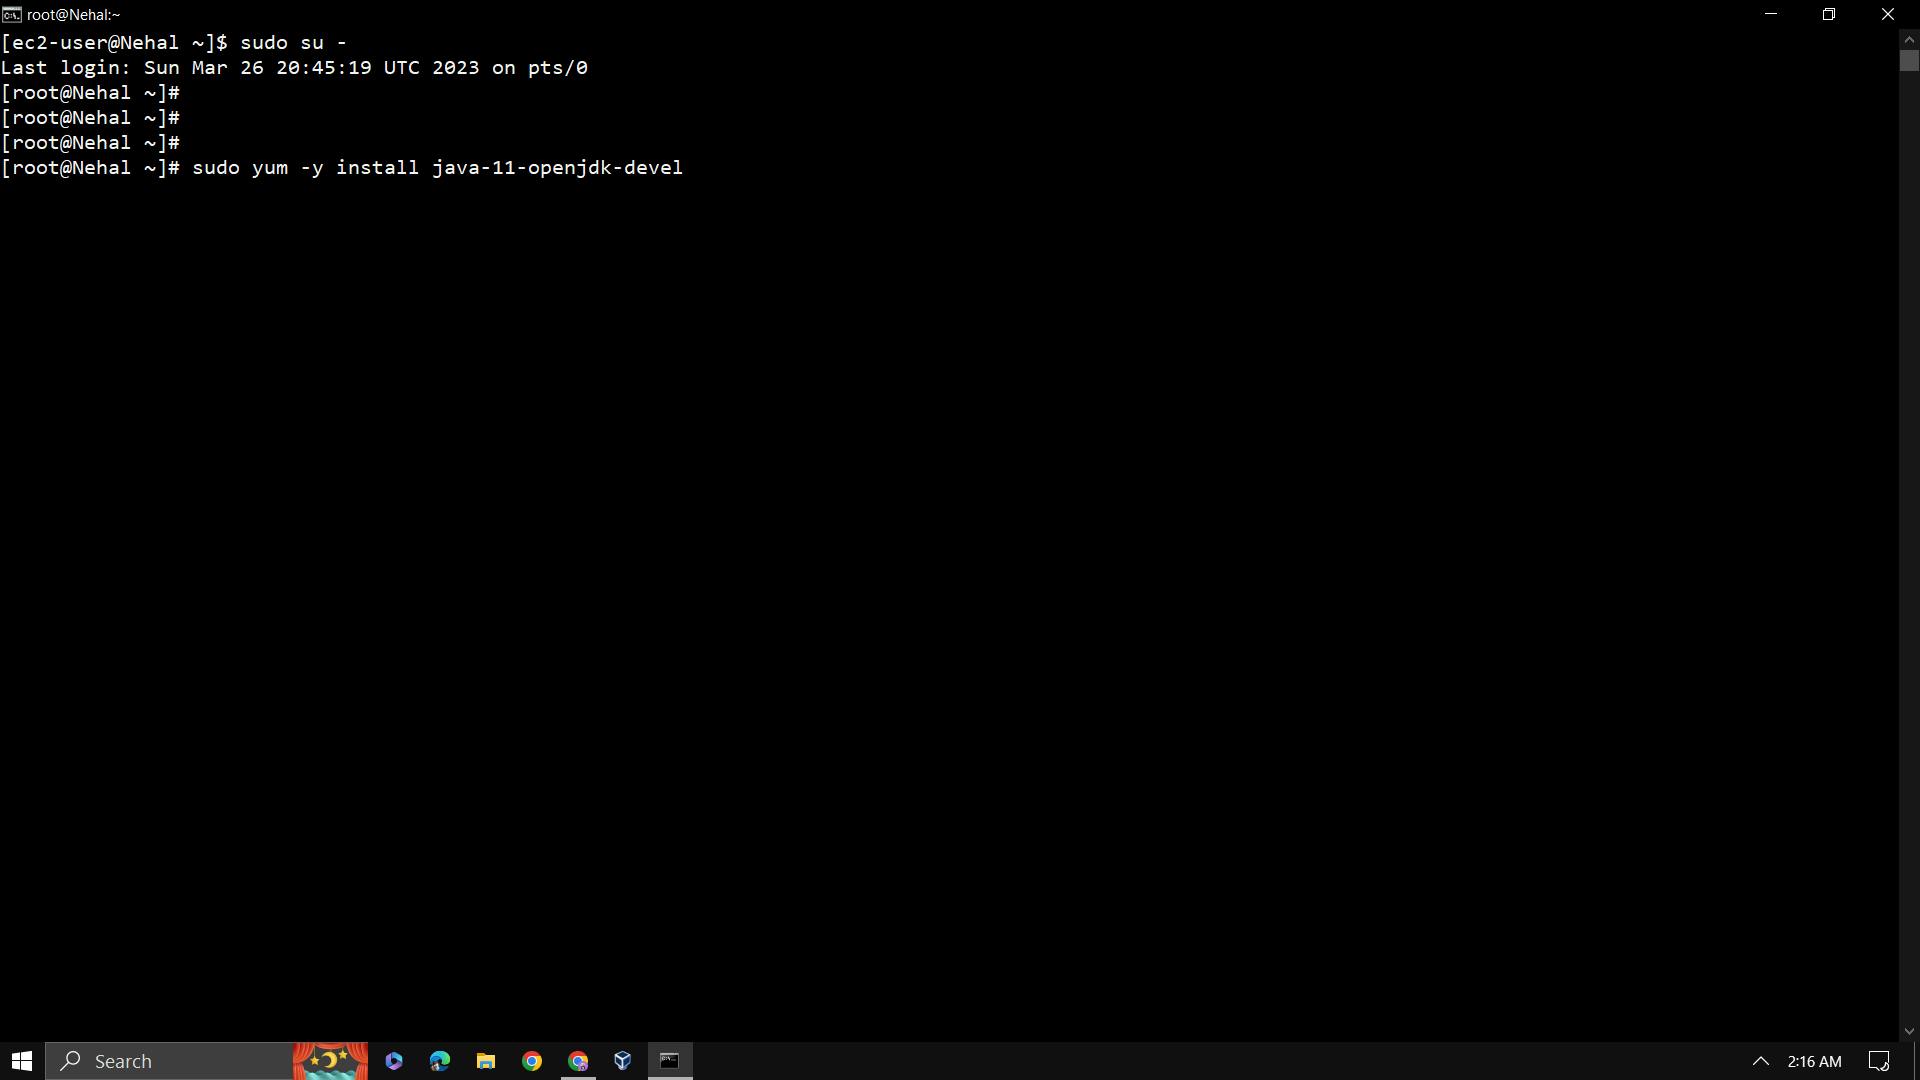
ec2-user represents the user login. user does not have the power or authority to accept the changes so we need to log in to the instance through the root user (which is also an admin user in RedHat).
Jenkins needs Java for installation
yum install java-11-openjdk-devel -y
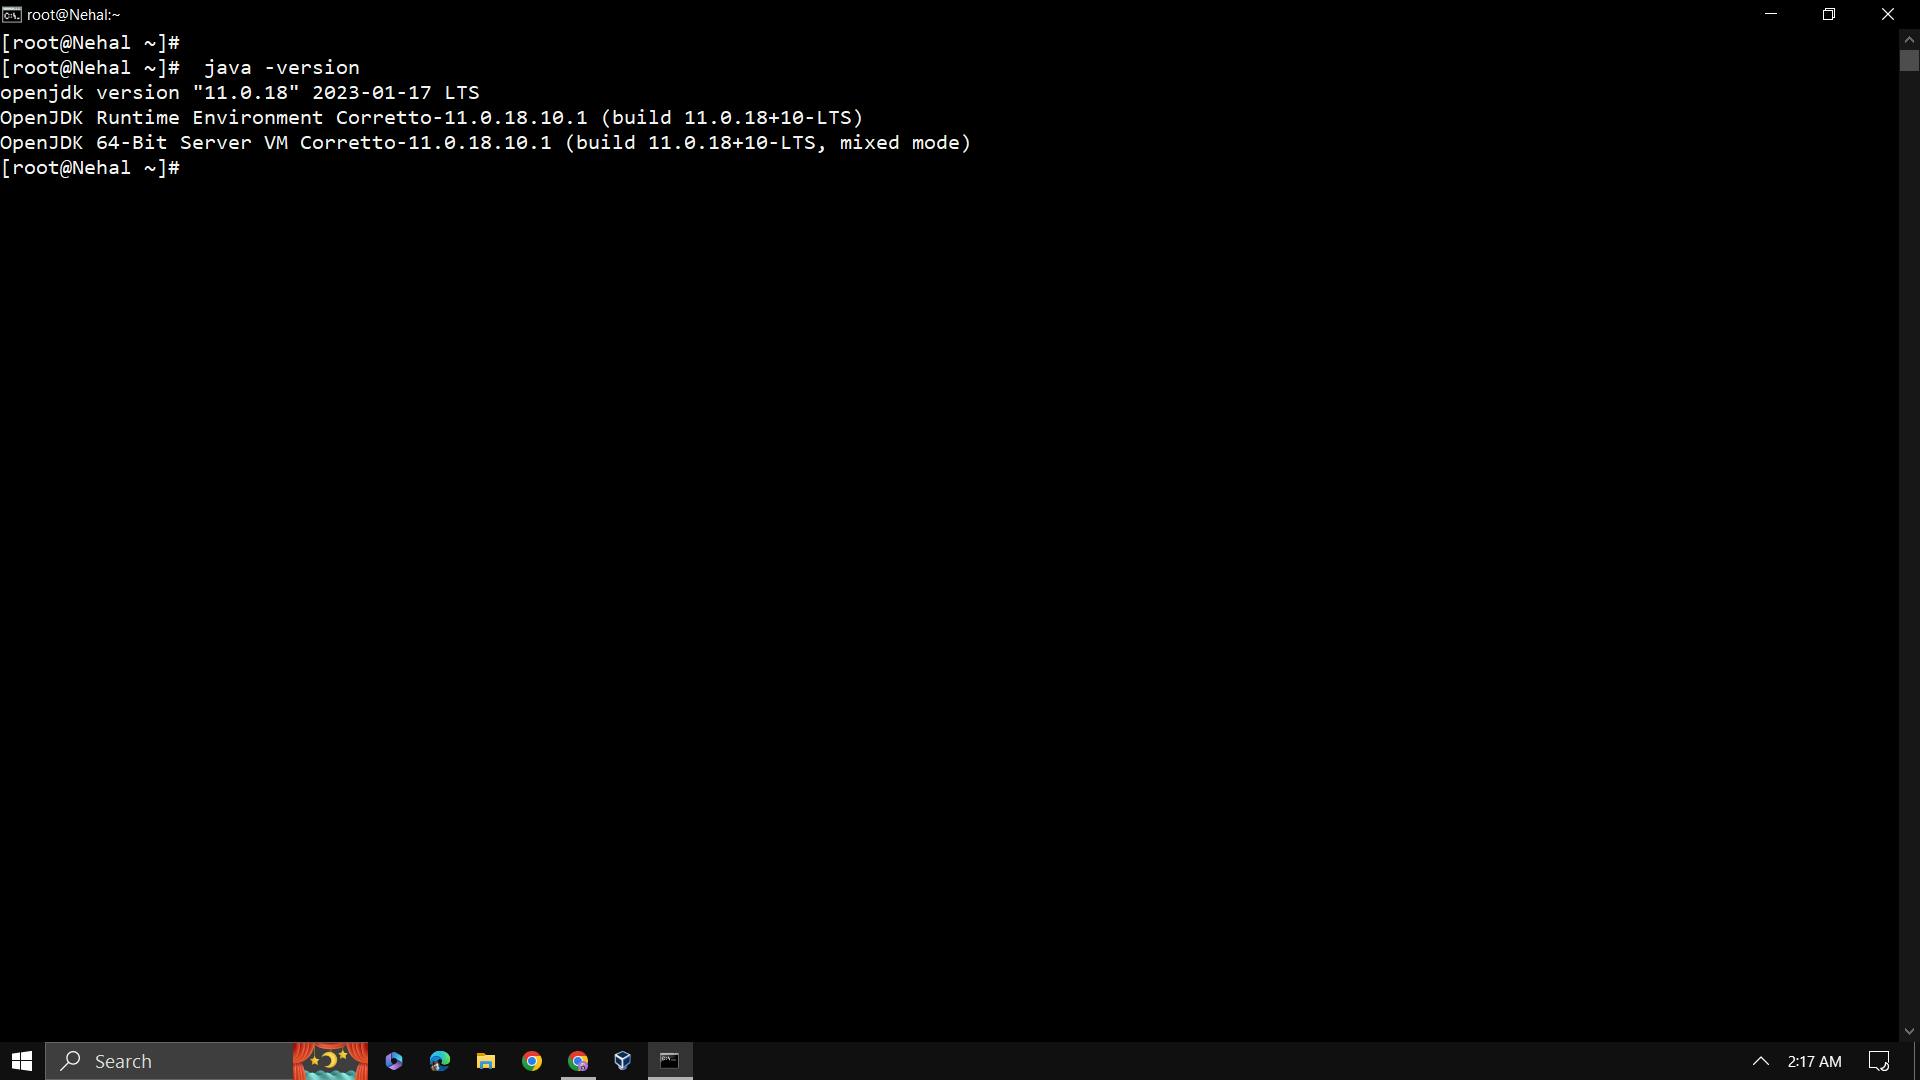
For checking purpose we can also run command to see java -version
java -version
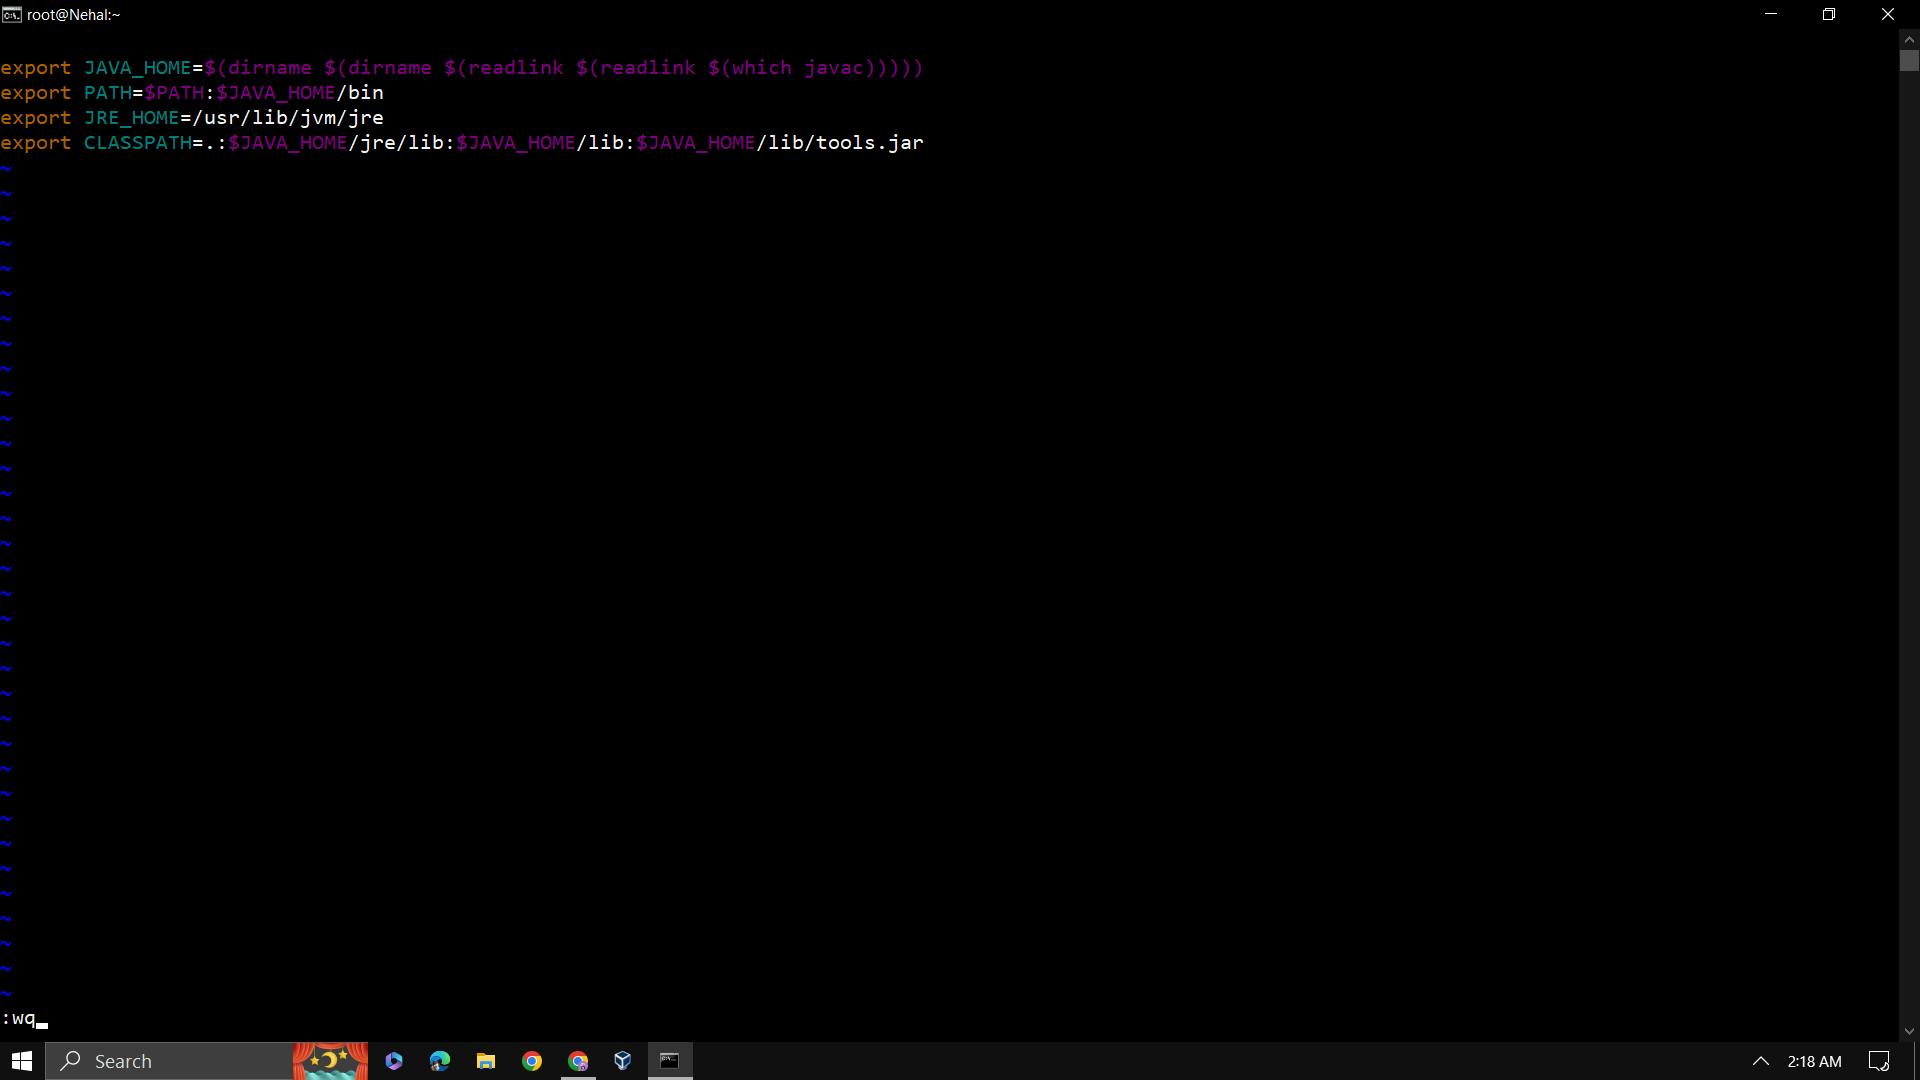
After successful installation of Java we need to add the environmental variable of java so that we can use java through any folder.
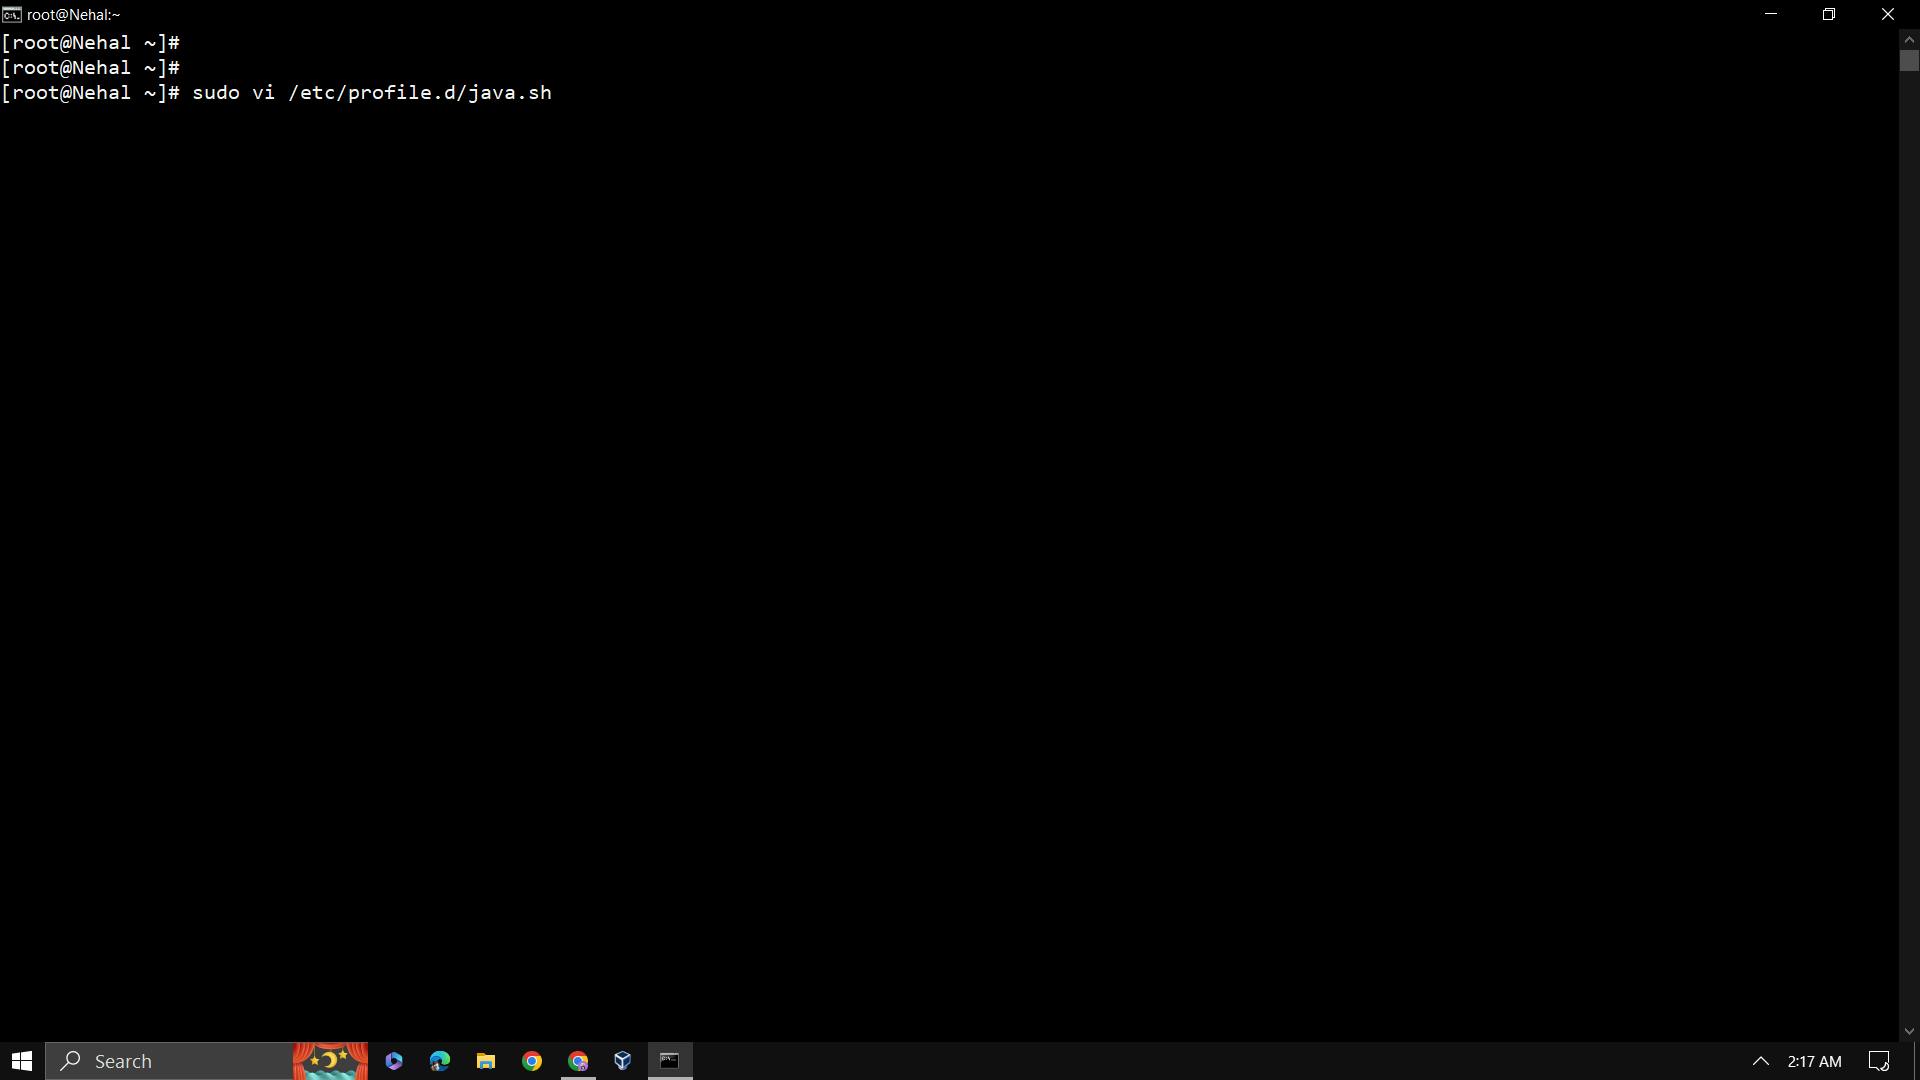
Import a key file from Jenkins-CI to enable installation from the package:
sudo rpm — import http://pkg.jenkins-ci.org/redhat/jenkins-ci.org.key
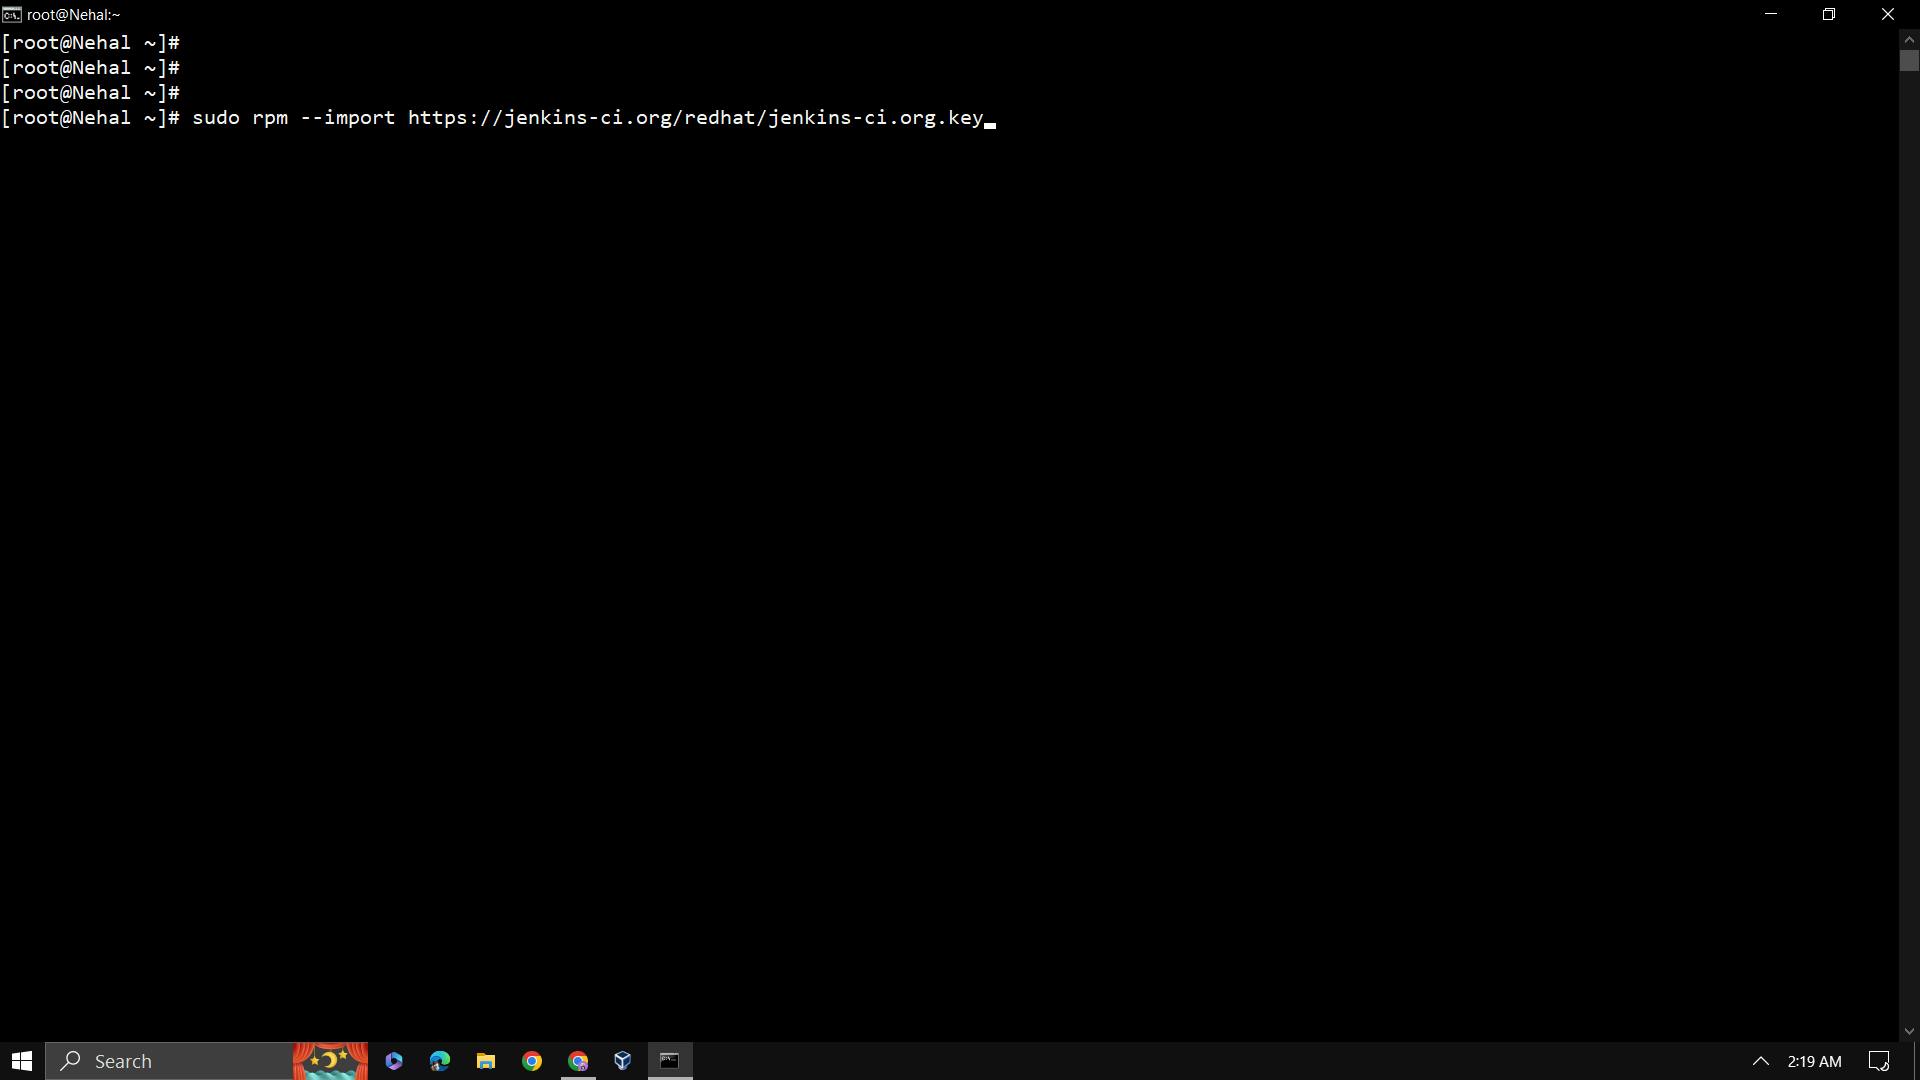
Add the Jenkins repo using the following command:
sudo wget -O /etc/yum.repos.d/jenkins.repo http://pkg.jenkins-ci.org/redhat/jenkins.repo
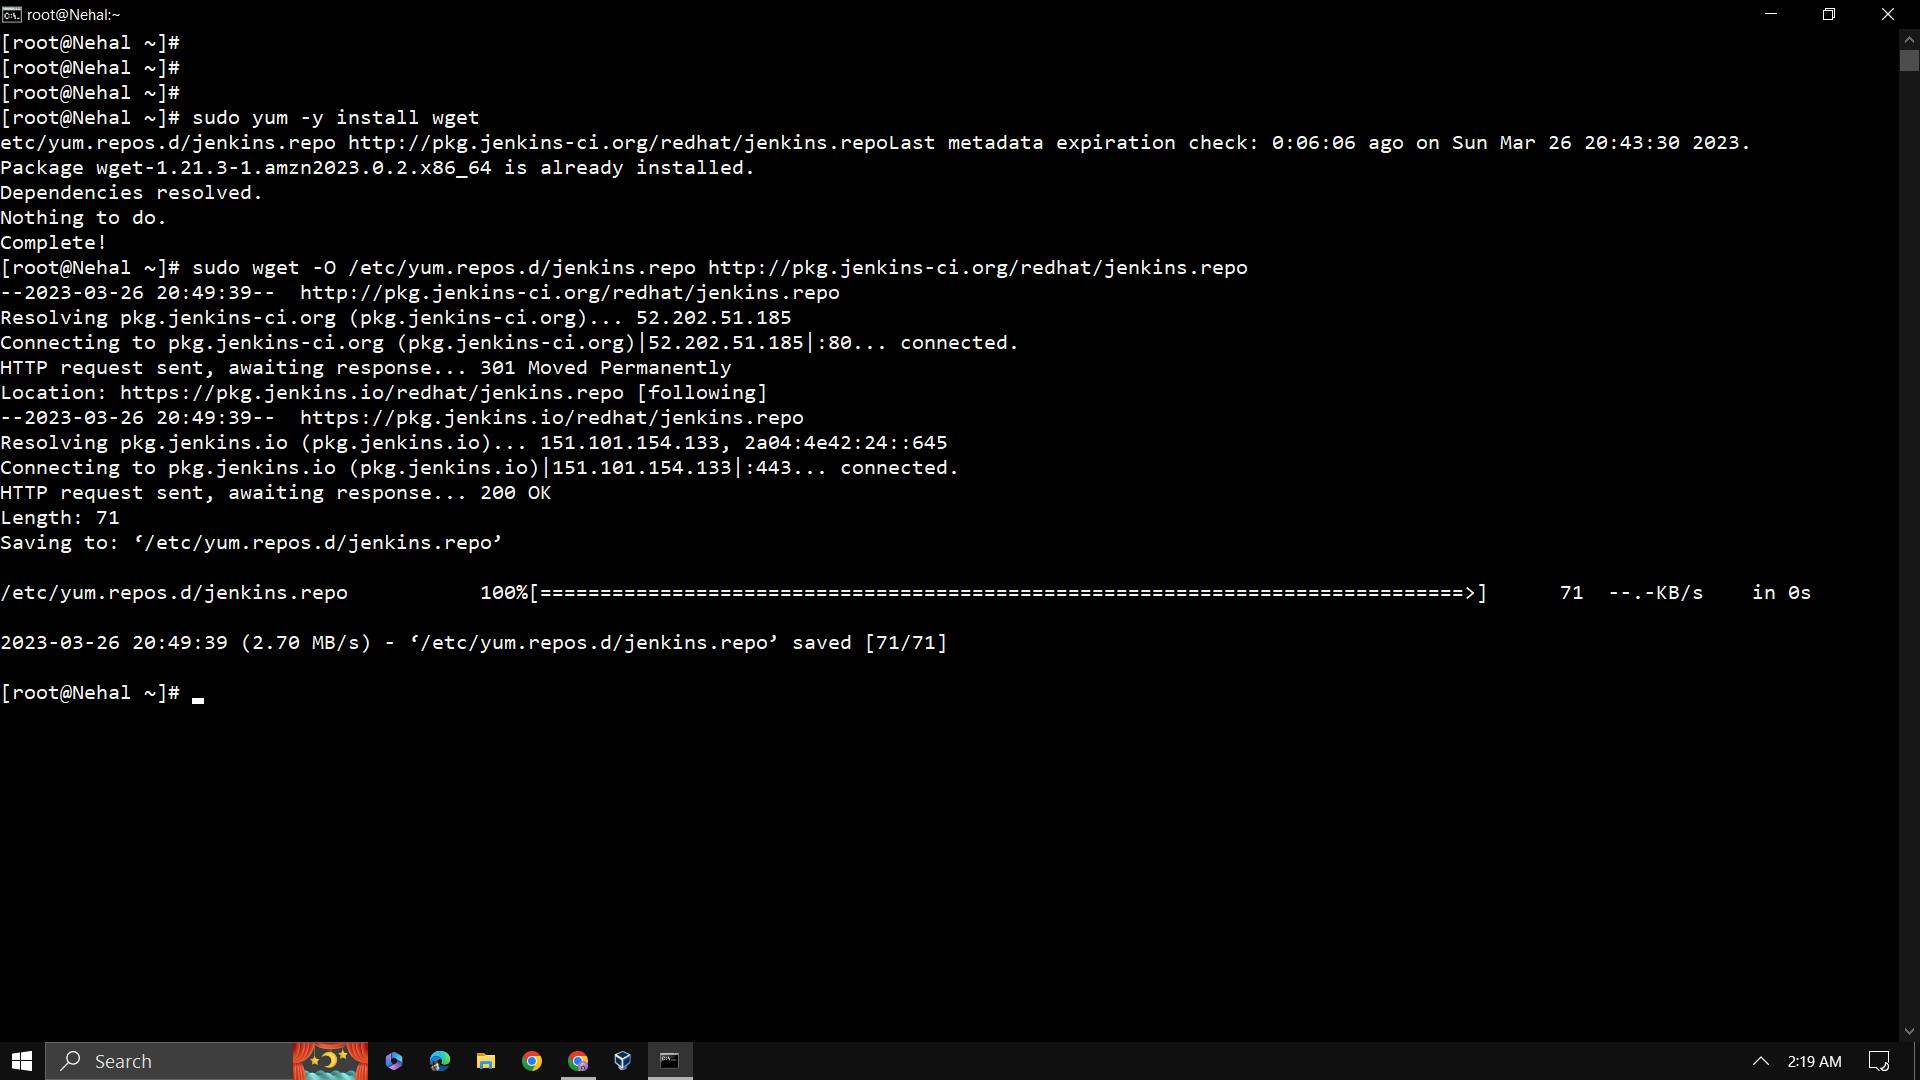
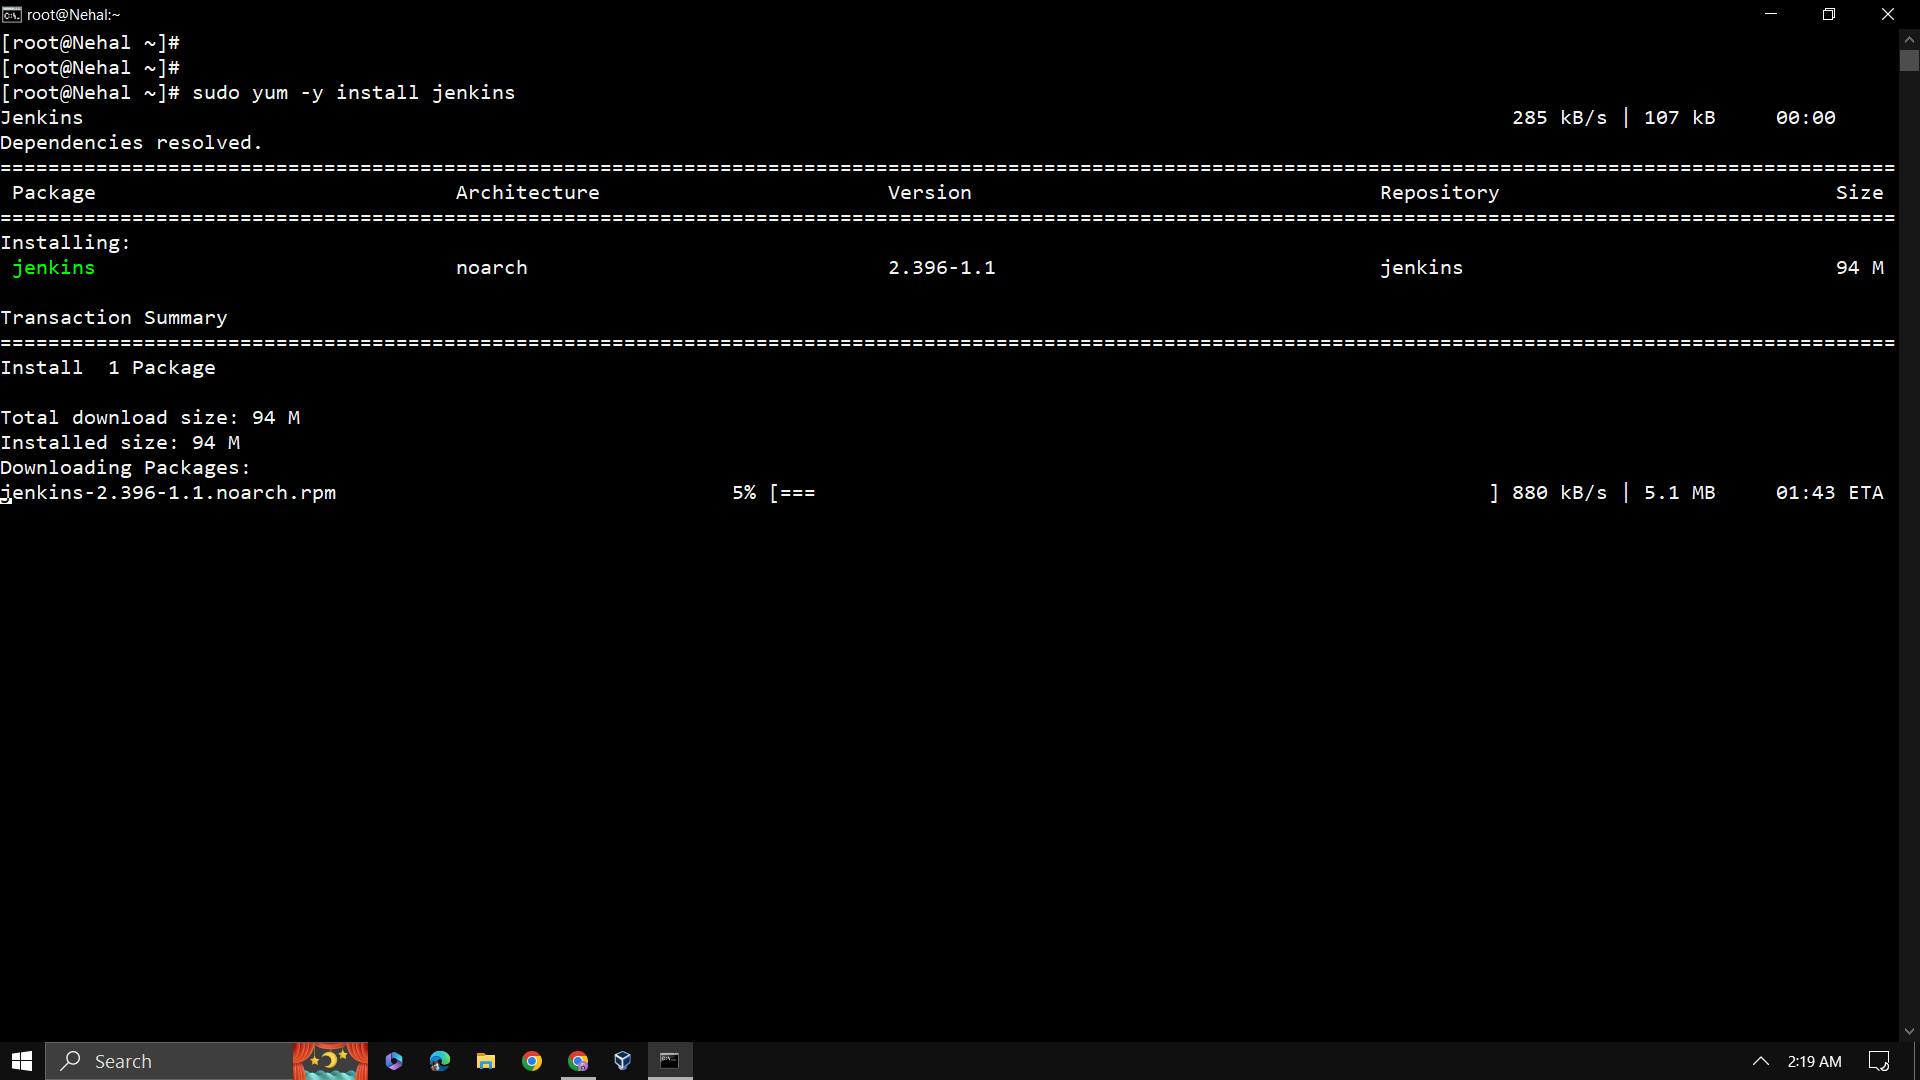
Install Jenkins:
sudo yum install jenkins -y
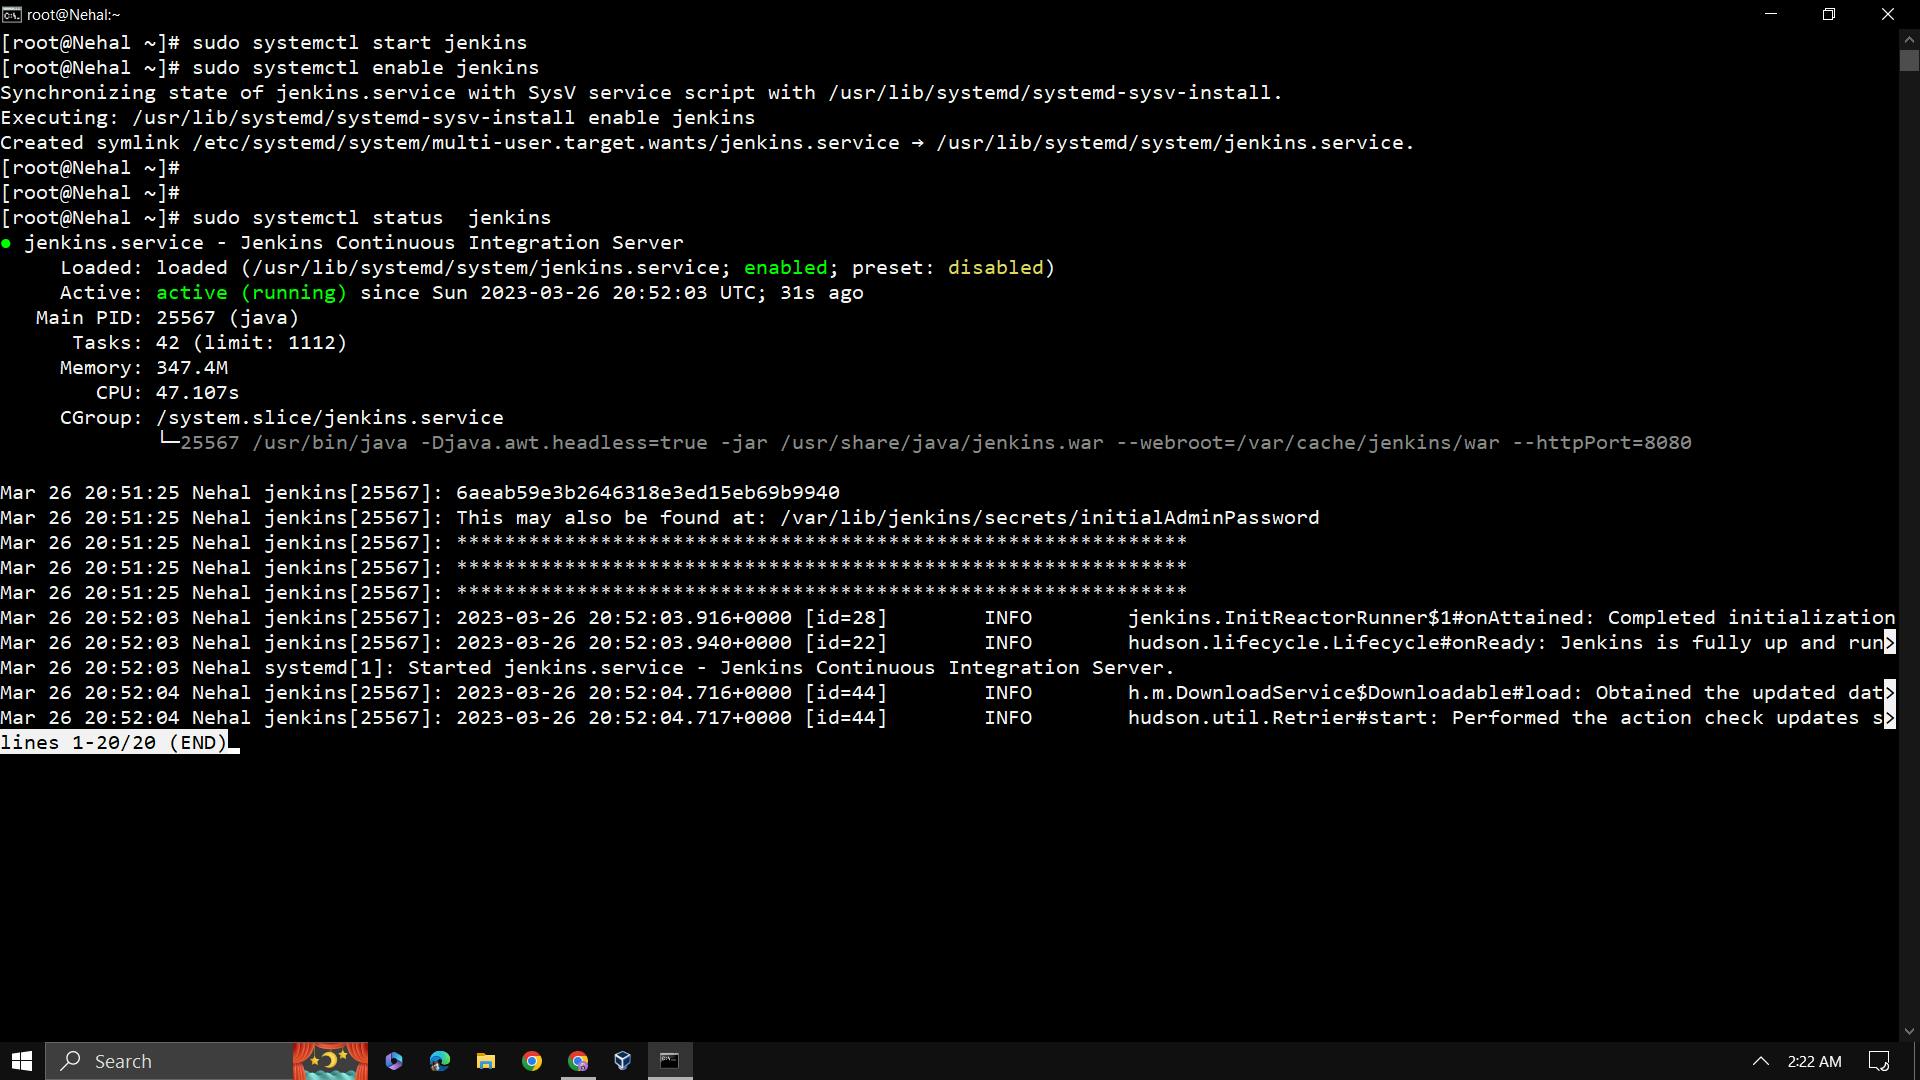
Start Jenkins as a service.
Note : Before running the Jenkins, make sure your 8080 port is available or else you could run Jenkins on any other available port by simply changing the port inside the configuration file of CentOS rpm based linux i.e. /etc/sysconfig/jenkins file(The location in debian based linux is /var/default/jenkins), change the port as JENKINS_PORT=”8081”
sudo service jenkins start
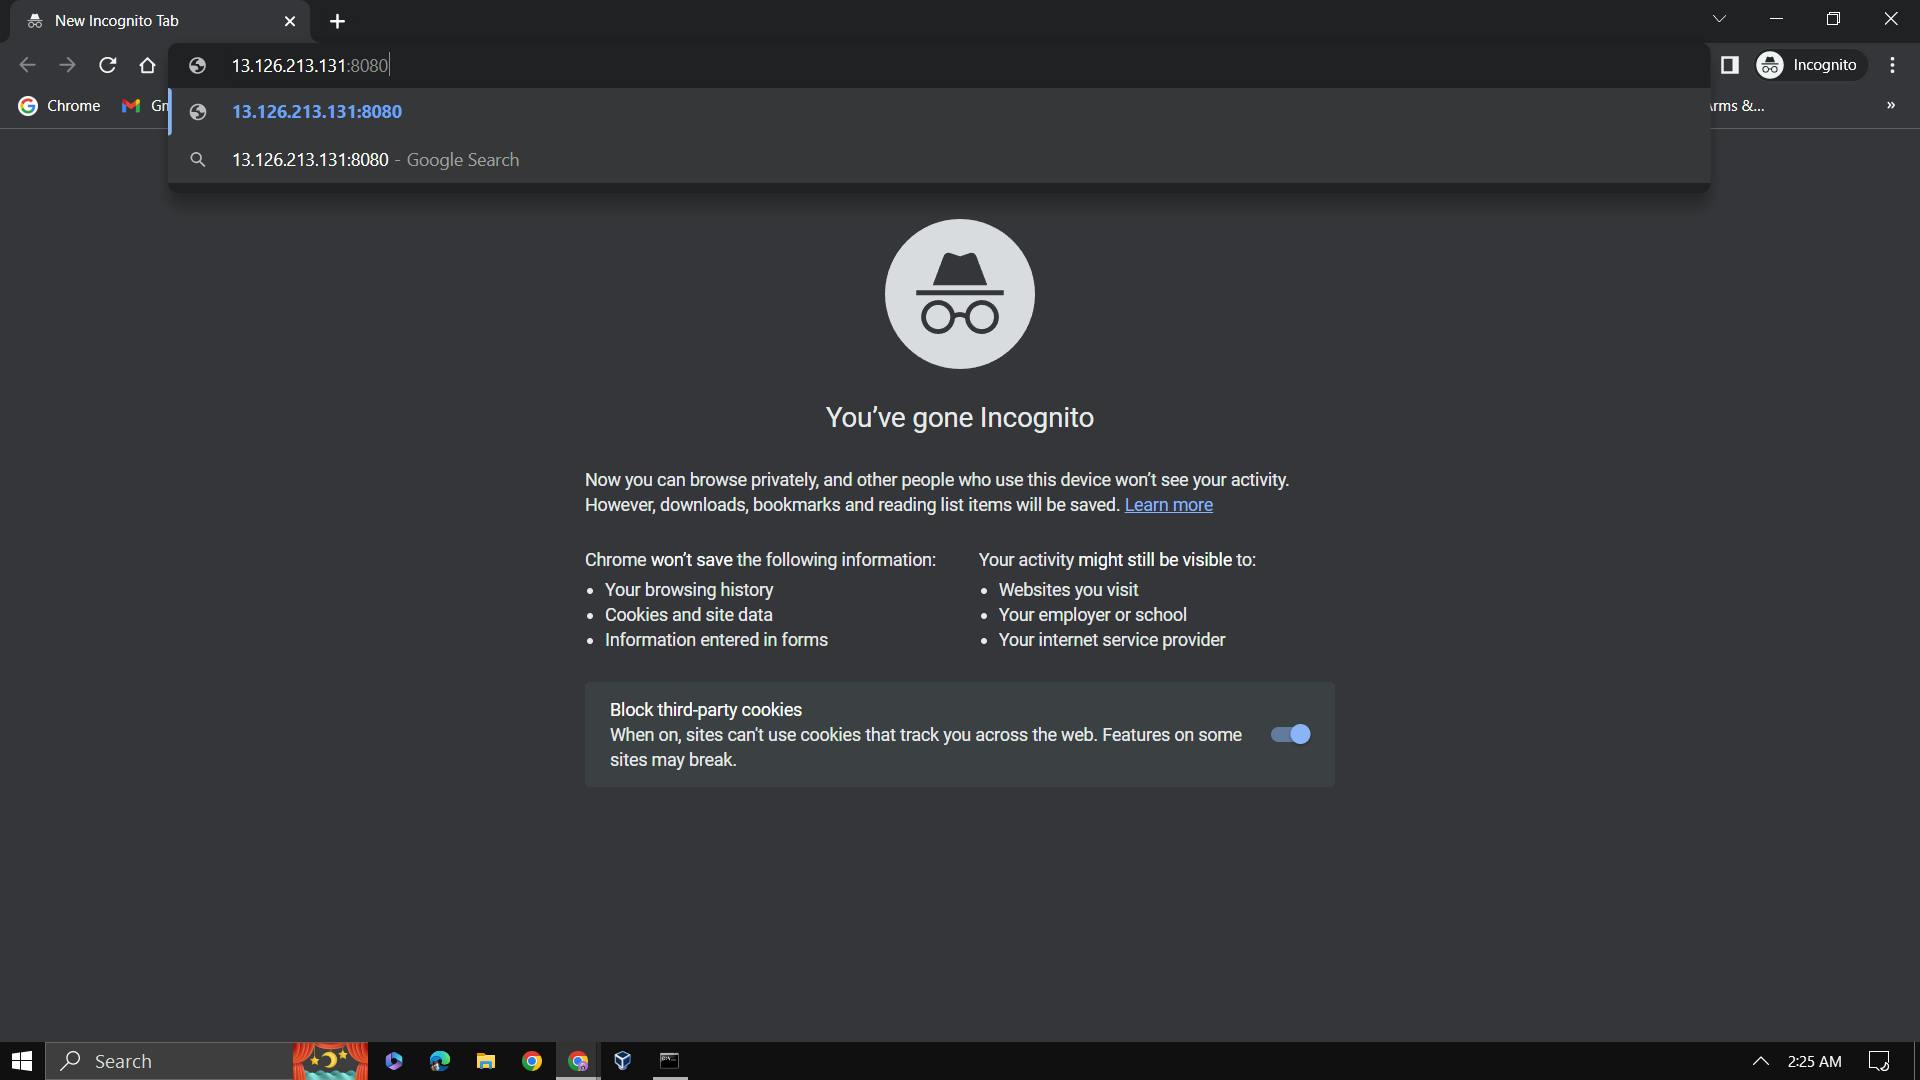
Use IPV4 for the login to Jenkins with port number 8080 which is the standard port number of jenkins.
Now you are able to see the first page of Jenkins which need a Password for unlock.
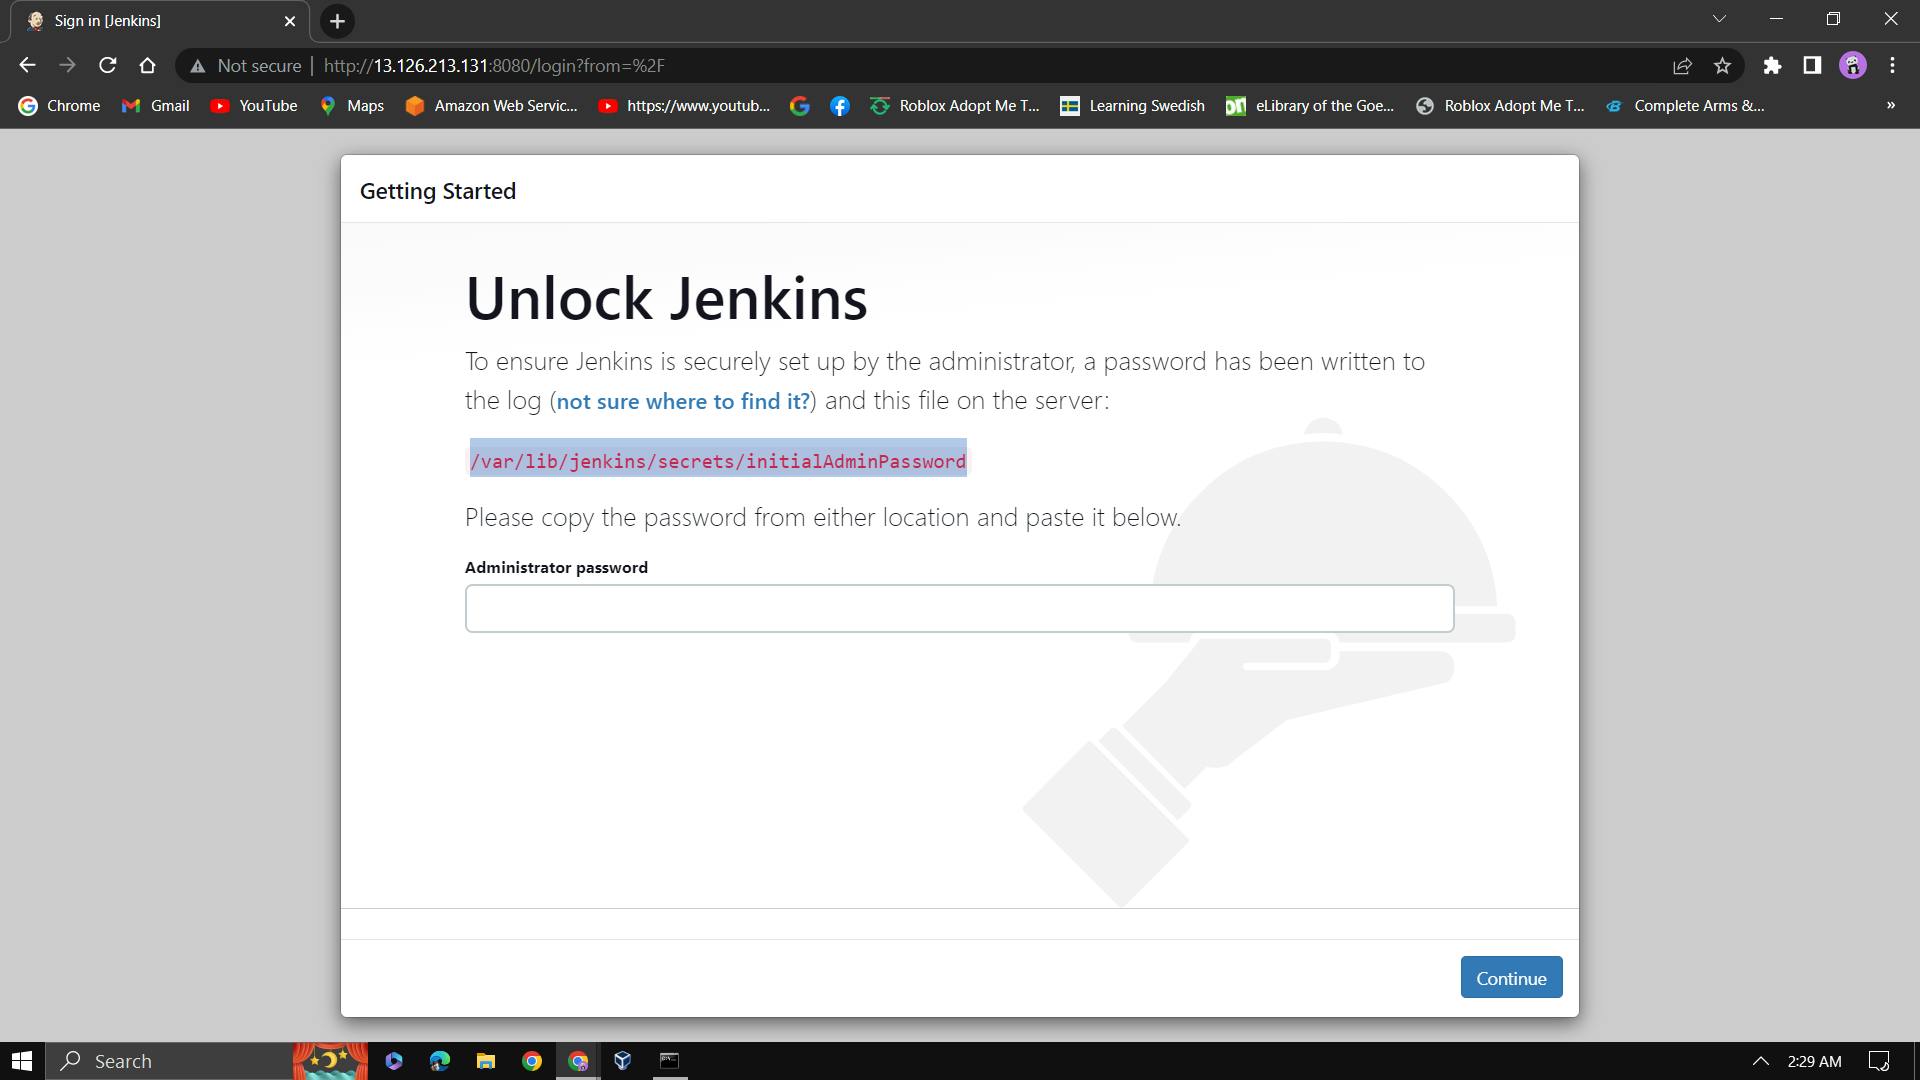
Password is stored in one file which is "initialAdmiPassword" by using cat command we can see the password.
Now copy the password and paste it to the front page column.
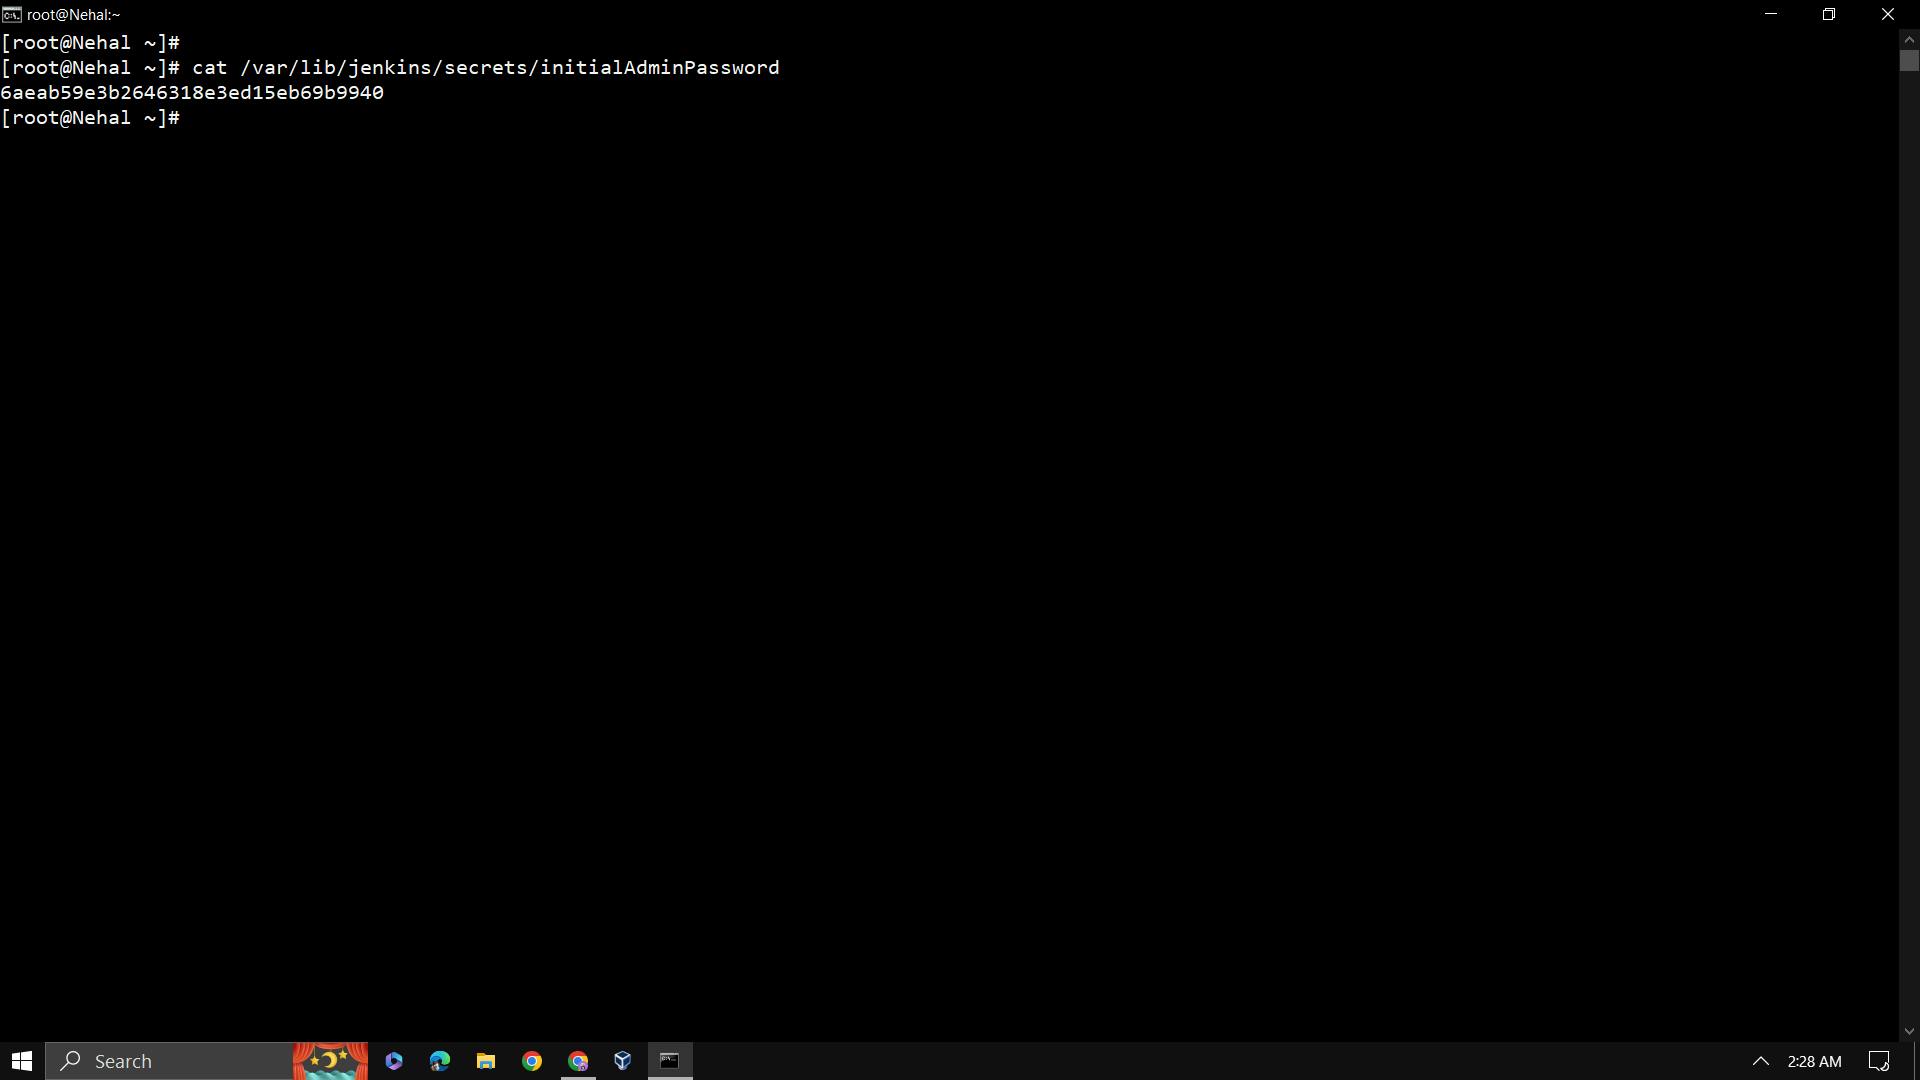
You can directly log in through this password.
A project to understand Jenkins and another important topic of Jenkins will be covered in the next blog
Stay tuned!!
For any query, you can contant to Nehal Ingole